

One of the basics I would often find myself doing is creating an advanced “latest posts” plugin, mainly so I could style the latest posts widgets a little nicer. This tutorial will show you how to create this plugin, and will give you some ideas to styling the sidebar.
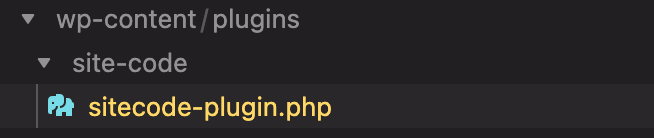
First, navigate to your plugins folder and create a new folder, I’m calling it a generic “site-code”. If you are following this tutorial exactly and are using Bedrock skip down to the yellow note below.

Now, we create a php file, mine is called sitecode-plugin.php
Note: If you are using Bedrock
wp-content/plugins is not the correct path for your new plugin. If you are following my tutorial and using Bedrock then you will be adding the plugin here: app/bedrock/web/app/plugins –
In this file, we need some important code so WordPress knows this is a plugin, copy this and paste it into this new file :
<?php
/*
Plugin Name: Theme Code
Description: Bundle of Theme Widgets and various site code.
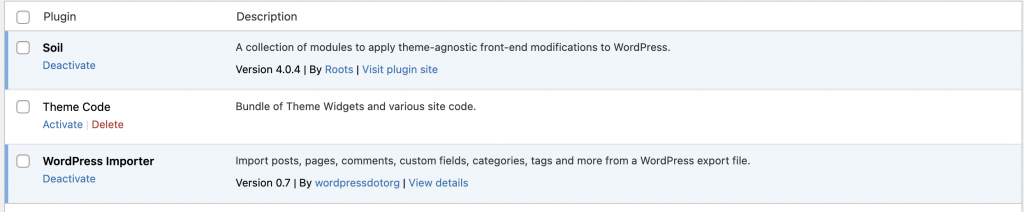
*/This will now show up in the plugins folder :
We now need it to do something! for this tutorial, we will create a new widget, but this plugin is going to be used to put various site-specific code into as we build the theme. Even though the PHP code is going to be added to the plugin, I will be adding the CSS code into _global.scss, I have no need to create plugin-specific style sheets as these are all made on a per-site basis. To make the plugin more reusable we would need to enqueue its own style sheet – but if we build these widgets to be site-specific we are able to avoid a lot of wasted network requests for stylesheets and often lots of CSS code that doesn’t get used. For example, the code we write here for the cards can also be used on our category pages.
The purpose of this tutorial is the workflow of Bedrock/Sage, not so much how to make plugins or widgets, but we still want to end up with a nice looking basic theme, so without explanation here is the plugin code :
<?php
/*
Plugin Name: Theme Code
Description:  Bundle of Theme Widgets and various site code.
*/

// Creating the widget
class newpost_widget extends WP_Widget
{
    public function __construct()
    {
        parent::__construct(
'newpost_widget',

__('Advanced New Posts Widget', 'newpost_widget_domain'),

['description' => __('New Posts', 'newpost_widget_domain')]
);
    }

    public function widget($args, $instance)
    {
        $title = apply_filters('widget_title', $instance['title']);

        echo $args['before_widget'];
        if (!empty($title)) {
            echo $args['before_title'].$title.$args['after_title'];
        } ?>

	<div class="cards">
    <?php
    $excludeid = ''; // make an array if you need more featured spots.
        $recent_posts = wp_get_recent_posts([
        'numberposts' => 1, // Number of recent posts thumbnails to display
        'post_status' => 'publish', // Show only the published posts
        'meta_key' => '_thumbnail_id', // only with images to keep consistant display
    ]);
        foreach ($recent_posts as $post_item) { ?>

 <?php $image = wp_get_attachment_image_src(get_post_thumbnail_id(($post_item['ID'])), 'single-post-thumbnail'); ?>
 <?php $excludeid = $post_item['ID']; ?>
	<a class="card" href="<?php echo get_permalink($post_item['ID']); ?>">
			<span class="card-header" style="background-image: url(<?php echo $image[0]; ?>);">
				<span class="card-title">
					<h3>  <?php echo esc_html($post_item['post_title']); ?></h3>
				</span>
			</span>
			<span class="card-summary">
		<?php echo wp_strip_all_tags(get_the_excerpt($post_item['ID']), true); ?>
			</span>
			<span class="card-meta">
		<?php echo esc_html($post_item['post_date']); ?>
			</span>
		</a>
    <?php wp_reset_query(); } ?>

<ul> <div class="card">
<?php
     $recent_posts = wp_get_recent_posts([
        'numberposts' => 5, // Number of recent posts thumbnails to display
        'post_status' => 'publish', // Show only the published posts
    ]);

        foreach ($recent_posts as $recent) {
            if ($recent['ID'] == $excludeid) {
                // do nothing
            } else {
                echo '<li class="altposts"><a href="'.get_permalink($recent['ID']).'">'.$recent['post_title'].'</a> </li> ';
            }
        }
        wp_reset_query(); ?>
</div></ul>

    </div>


<?php
    }

    // Widget Backend
    public function form($instance)
    {
        if (isset($instance['title'])) {
            $title = $instance['title'];
        } else {
            $title = __('New title', 'newpost_widget_domain');
        } ?>
<p>
<label for="<?php echo $this->get_field_id('title'); ?>"><?php _e('Title:'); ?></label>
<input class="widefat" id="<?php echo $this->get_field_id('title'); ?>" name="<?php echo $this->get_field_name('title'); ?>" type="text" value="<?php echo esc_attr($title); ?>" />
</p>
<?php
    }

    public function update($new_instance, $old_instance)
    {
        $instance = [];
        $instance['title'] = (!empty($new_instance['title'])) ? strip_tags($new_instance['title']) : '';

        return $instance;
    }
}

// Register and load the widget
function load_widget()
{
    register_widget('newpost_widget');
}
add_action('widgets_init', 'load_widget');
and _global.scss now looks like this :
.widget-item {
padding: 10px;
margin-bottom: 20px;
}
.widget h3 {
border-bottom-width: 3px;
border-bottom-style: solid;
border-bottom-color: lightgray;
}
.line {
border-bottom-width: 3px;
border-bottom-style: solid;
border-bottom-color: theme-color("primary");
display: inline-block;
margin: 0 0 -3px 0;
padding: 10px 3px;
}
.card {
position: relative;
margin-bottom: 20px;
background: #fefff9;
color: #363636;
text-decoration: none;
-moz-box-shadow: rgba(0, 0, 0, 0.19) 0 0 8px 0;
-webkit-box-shadow: rgba(0, 0, 0, 0.19) 0 0 8px 0;
box-shadow: rgba(0, 0, 0, 0.19) 0 0 8px 0;
-moz-border-radius: 4px;
-webkit-border-radius: 4px;
border-radius: 4px;
}
.card span {
display: block;
}
.card .card-summary {
padding: 5% 5% 15% 5%;
}
.card .card-header {
position: relative;
height: 175px;
overflow: hidden;
background-repeat: no-repeat;
background-size: cover;
background-position: center;
background-color: rgba(255, 255, 255, 0.15);
background-blend-mode: overlay;
-moz-border-radius: 4px 4px 0 0;
-webkit-border-radius: 4px;
border-radius: 4px 4px 0 0;
}
.card .card-title {
background: theme-color("primary-dark");
padding: 3.5% 0 2.5% 0;
color: white;
text-transform: uppercase;
position: absolute;
bottom: 0;
width: 100%;
}
.card .card-title h3 {
font-size: 1.2em;
line-height: 1.2;
padding: 0 3.5%;
margin: 0;
}
.card .card-meta {
max-height: 0;
overflow: hidden;
color: #666;
font-size: 0.78em;
text-transform: uppercase;
position: absolute;
bottom: 5%;
padding: 0 5%;
-moz-transition-property: max-height;
-o-transition-property: max-height;
-webkit-transition-property: max-height;
transition-property: max-height;
-moz-transition-duration: 0.4s;
-o-transition-duration: 0.4s;
-webkit-transition-duration: 0.4s;
transition-duration: 0.4s;
-moz-transition-timing-function: ease-in-out;
-o-transition-timing-function: ease-in-out;
-webkit-transition-timing-function: ease-in-out;
transition-timing-function: ease-in-out;
}
.card:hover,
.card:focus {
background: white;
-moz-box-shadow: rgba(0, 0, 0, 0.45) 0 0 20 0;
-webkit-box-shadow: rgba(0, 0, 0, 0.45) 0 0 20 0;
box-shadow: rgba(0, 0, 0, 0.45) 0 0 20 0;
}
.card:hover .card-meta,
.card:focus .card-meta {
max-height: 1em;
}
.card-header:hover > .card-title {
background: theme-color("primary");
}
.card-header:hover {
transform: scale(1.04) rotate(-2deg);
transition: all 0.6s ease;
box-shadow: 2px 2px 16px rgba(0, 0, 0, 5%);
}
.cards ul {
list-style: none;
padding-left: 0;
}
.altposts {
background: #f0f0f0;
padding: 5px;
}
.altposts:nth-child(odd) {
background: #fefff9;
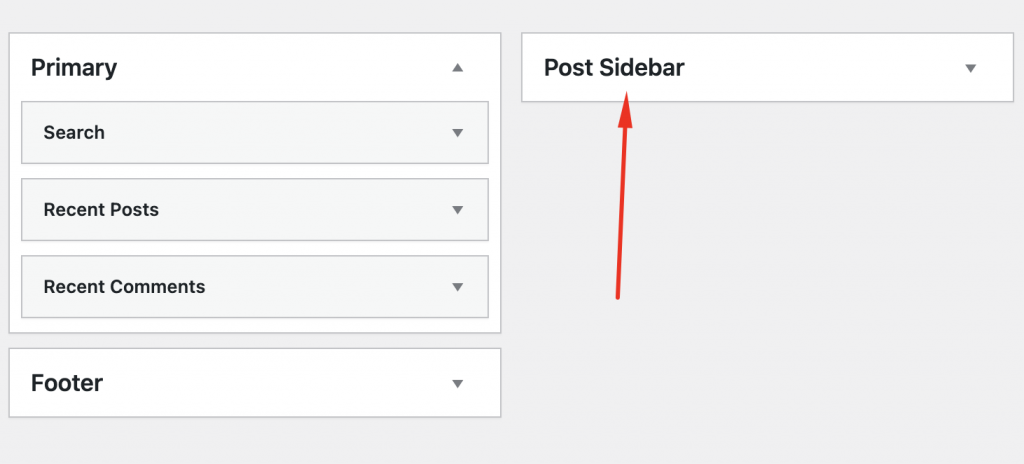
}If we activate the plugin and add the new widget to the sidebar we will now have this :
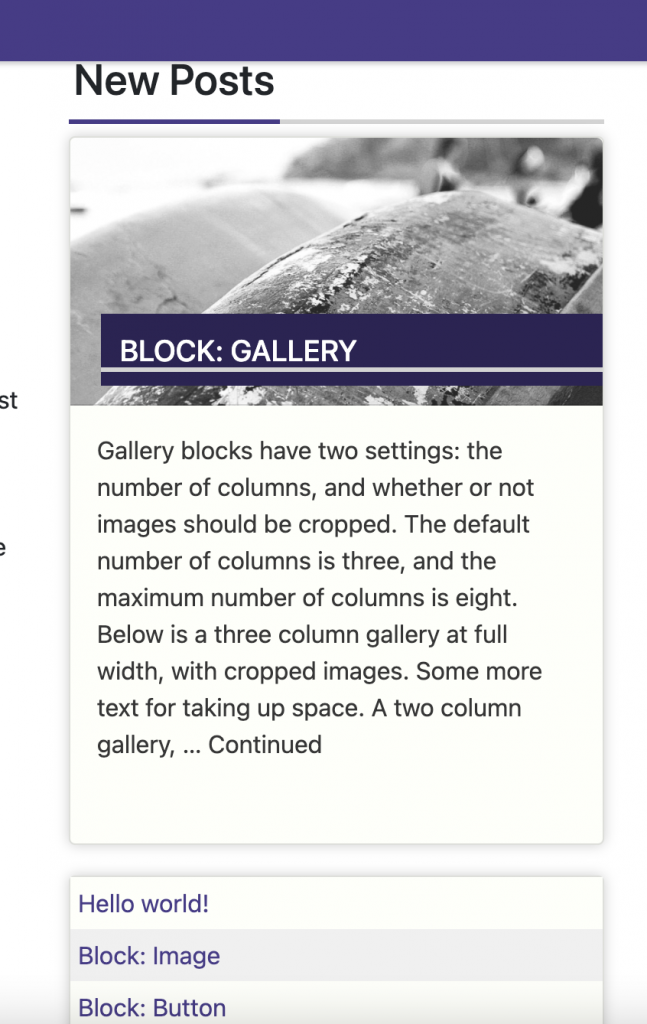
It features the last post with a featured image then displays the next 4 posts underneath as a list (or 5 if you have 5 new posts without featured images). In our next post, we will be using a CSS grid to put widgets in the footer!